

A beginners' guide on creating an Azure virtual machine and transferring files from a local PC to the VM through RDP


Azure is a cloud platform intended to make it easier to create contemporary apps. Azure enables you to develop applications that are scalable, dependable, and maintainable, whether you decide to host your apps wholly on Azure or simply add Azure services to your existing on-premises applications.
The most widely used programming languages today, like Python, JavaScript, Java.NET, and Go, are supported by Azure. With a thorough SDK library and wide support in applications you currently use, such as VS Code, Visual Studio, IntelliJ, and Eclipse, Azure is made to capitalize on your existing knowledge and put you to work straight away.
In Microsoft Azure, creating a virtual machine is an easy procedure that only requires a few steps to accomplish. Azure virtual machines give customers access to cloud computing resources that are available on demand, enabling them to manage and deploy applications and services very quickly.
OVERVIEW
Sign up for an Azure free account
Create Azure Virtual Machine
Link up and transfer files from a local PC to the VM via RDP
SIGN UP FOR AN AZURE FREE ACCOUNT
To get started, please register a free account here if you don't have an Azure subscription and follow the step-by-step guide to account creation.
Click "Start Free" on the Microsoft Azure website.
Enter your email address preferably “Microsoft Outlook email account i.e. @outlook.com” and create a password.
Enter your personal information, such as your name, address, and phone number.
Provide valid credit card or debit card information so that Microsoft can verify your identity.
Agree to the terms and conditions and click “Sign up”.
You will be asked to verify your identity via email. Open the email from Microsoft and click on the link provided.
Once your account has been created, you will be sent to a confirmation page. Log in to your Microsoft Azure account and start exploring the services.
After setting up your Azure account, log into your Microsoft Azure portal with your email address and password and start exploring the services.
CREATE A VIRTUAL MACHINE
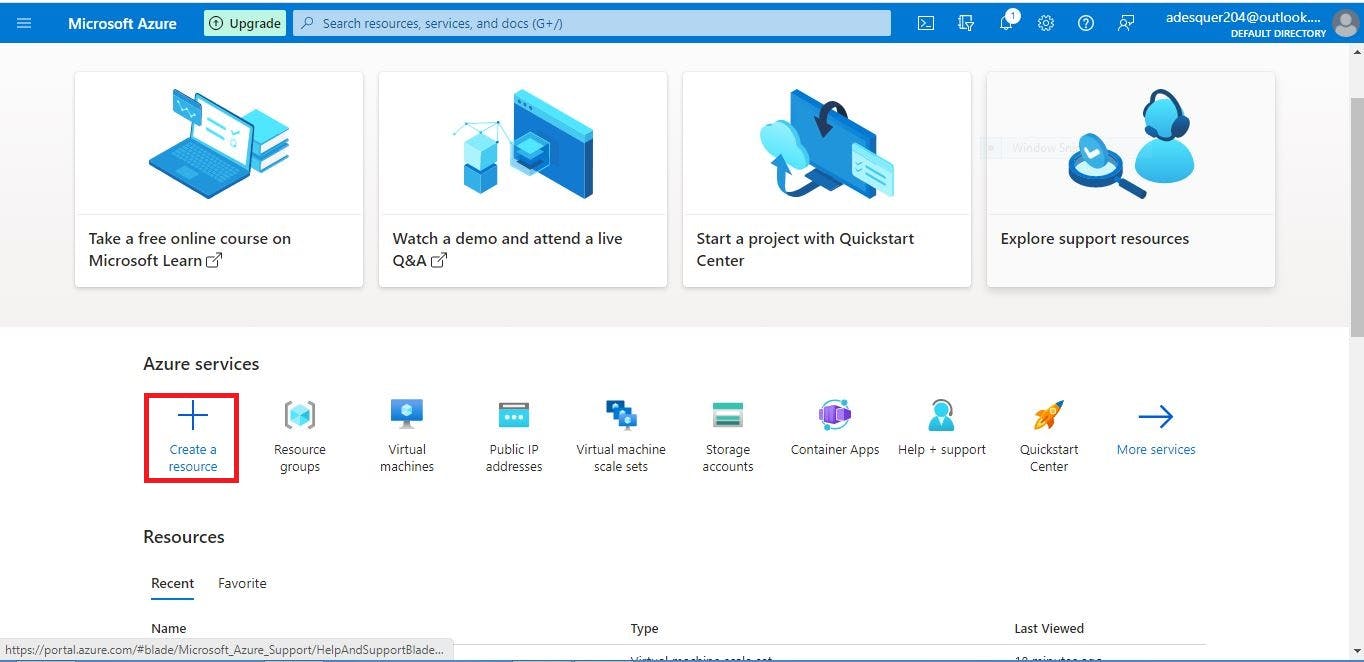
Log into the Azure Portal and click on the “Create a resource” button. This will open a list of available resources.
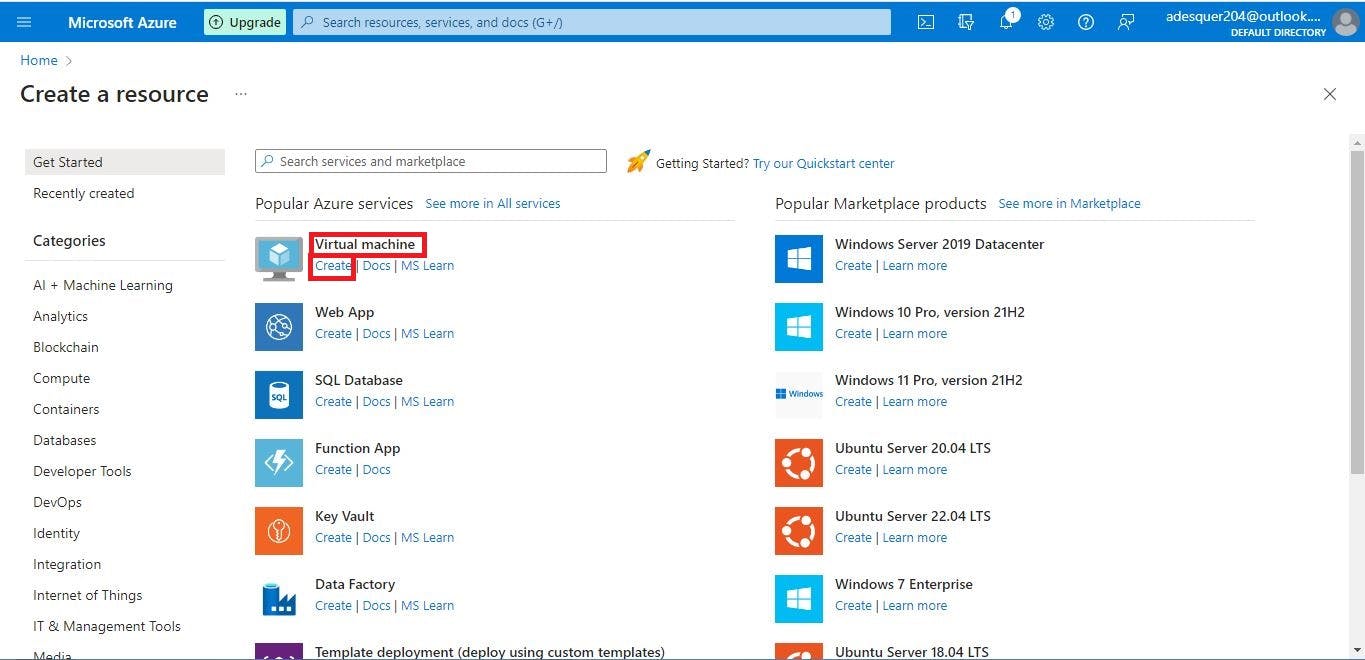
Select the “Virtual Machine” option.
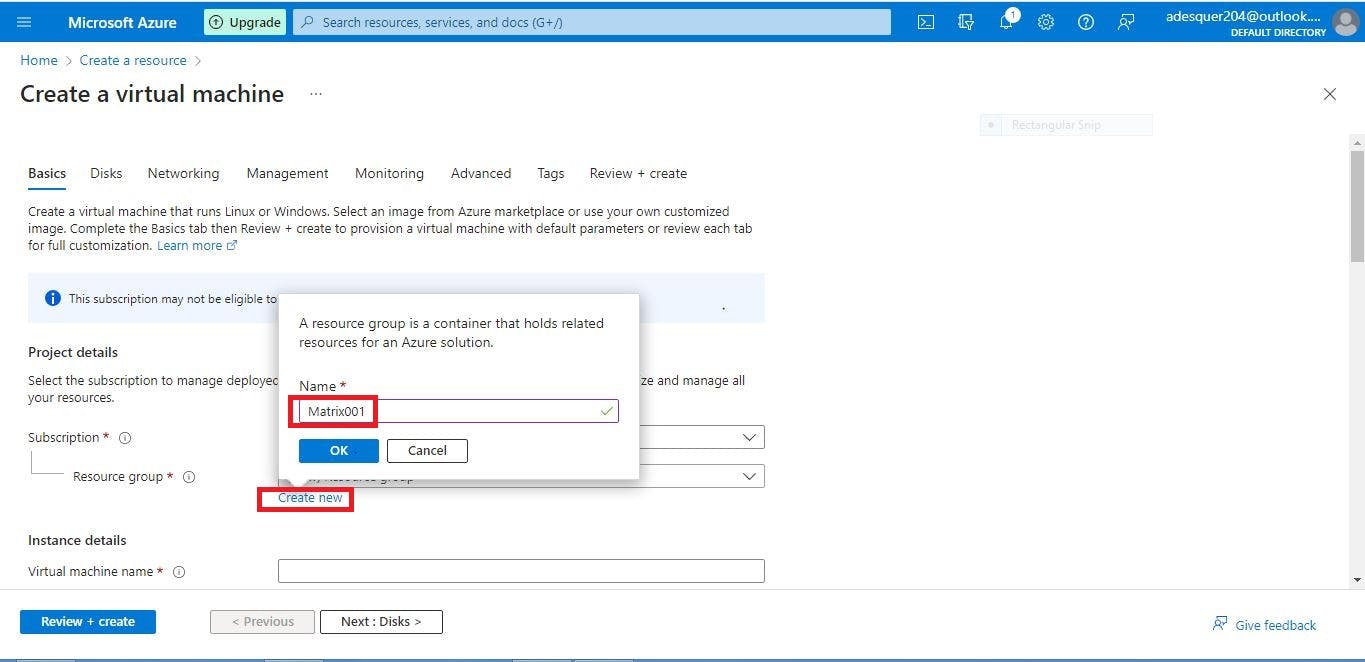
Enter the name of the resource group to manage the resources associated with the virtual machine (VM).
Enter the virtual machine name, region, availability options, and availability zone.
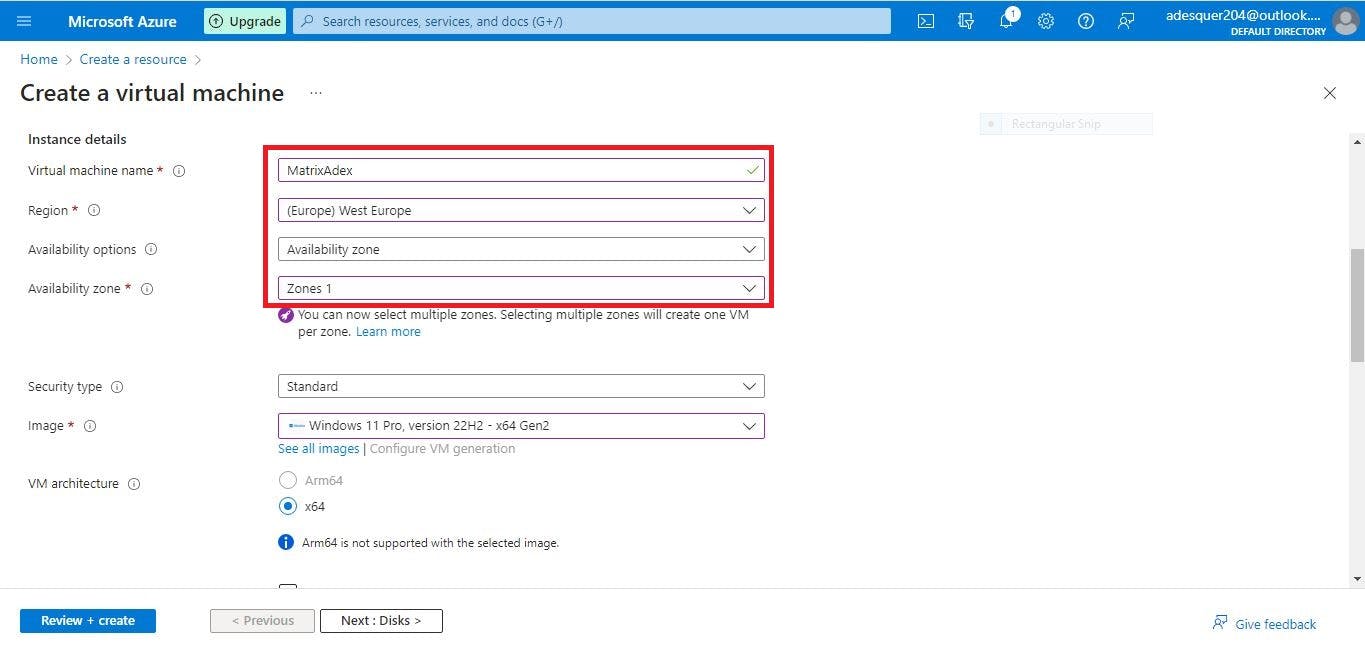
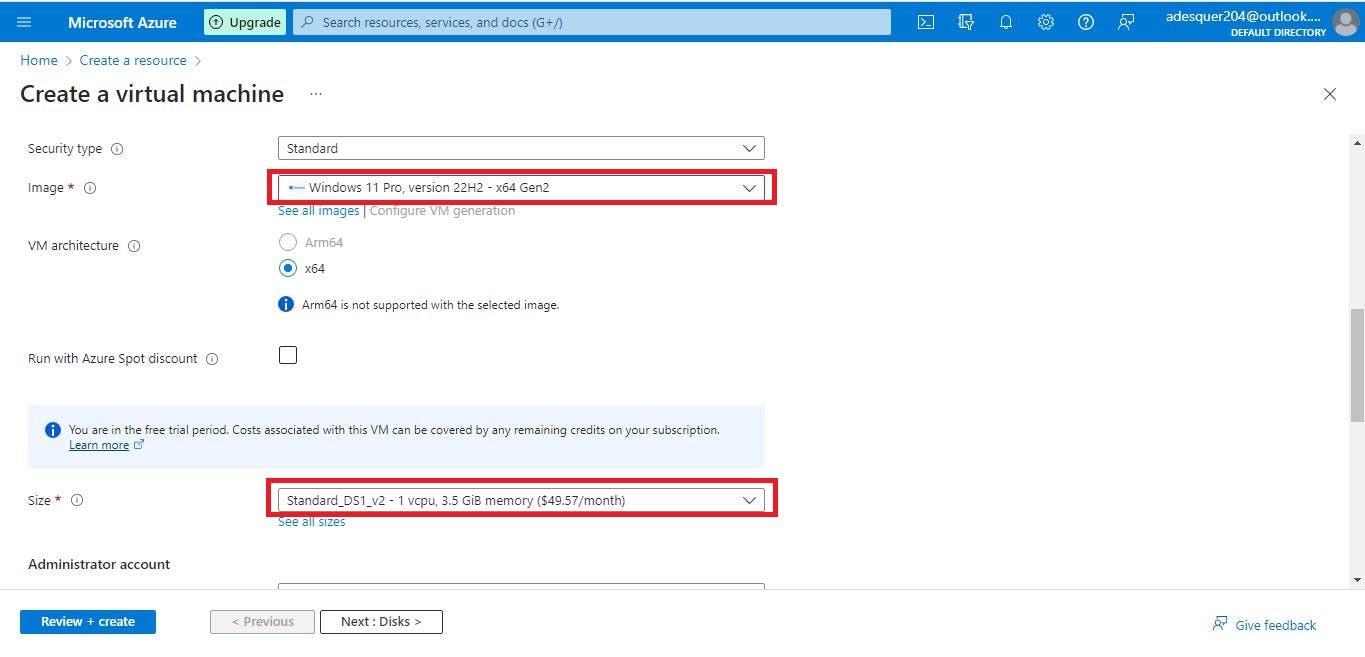
Choose the type of virtual machine you would like to create an “image”. Options include Windows 11 Pro and configuring settings such as VM size.
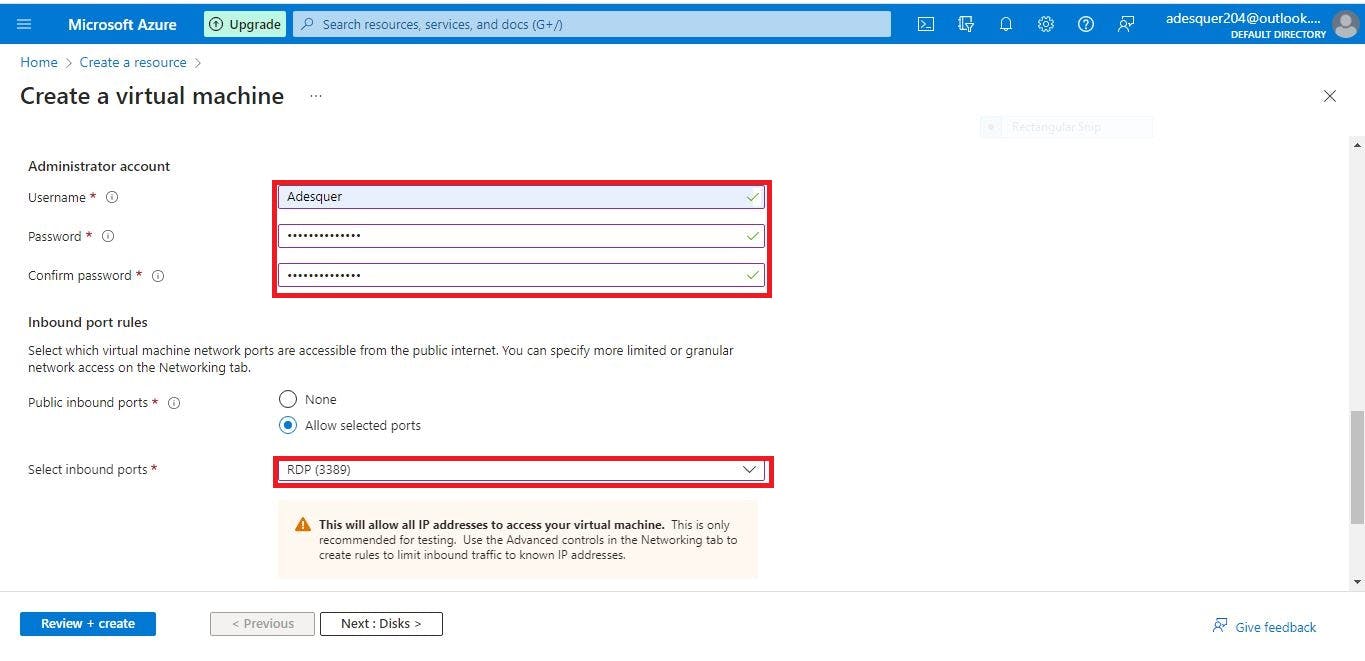
Once the virtual machine settings have been configured, enter the virtual machine username and password and select Remote Desktop Protocol (RDP) as the inbound port.
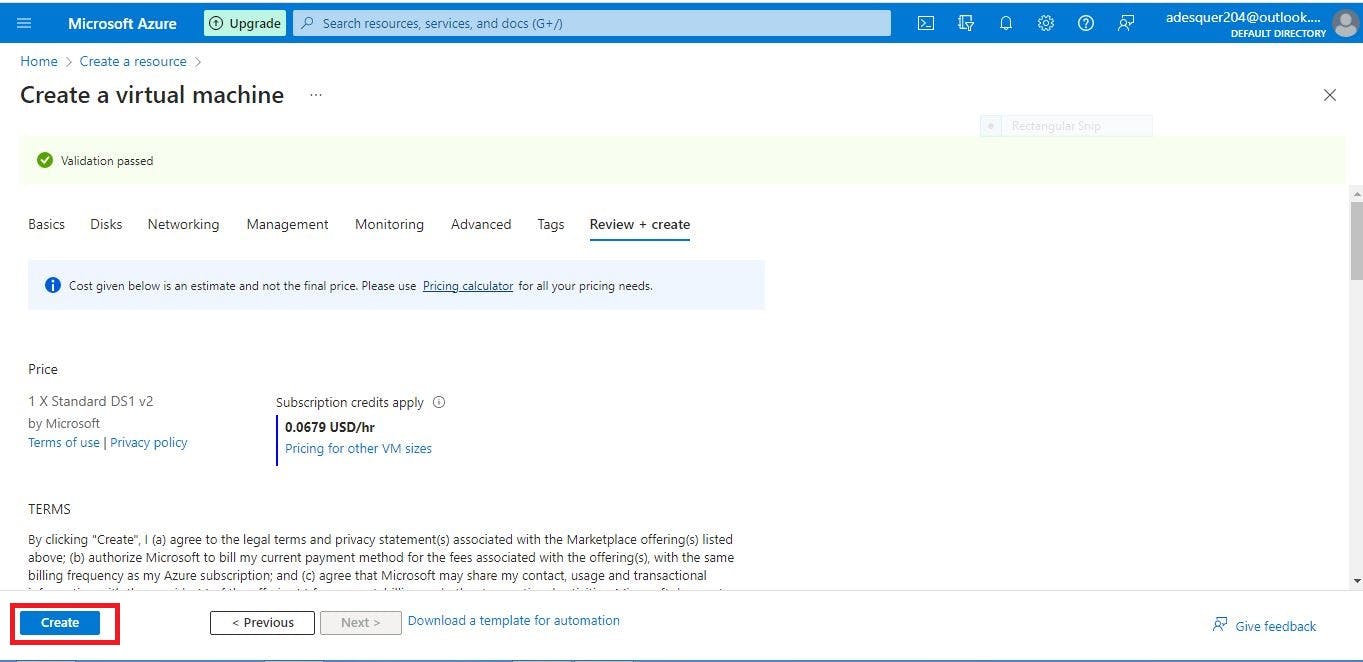
After reviewing the settings, click the “Create” button to begin the virtual machine creation process.
The deployment stage is initiated automatically.
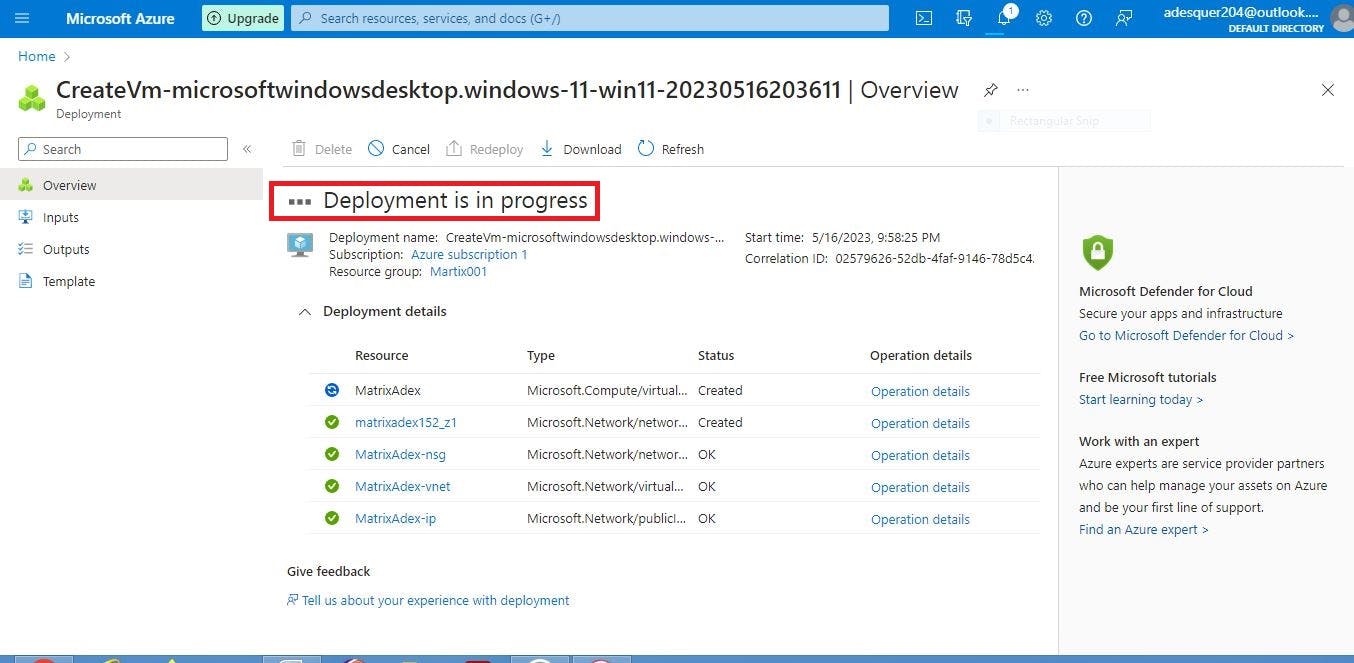
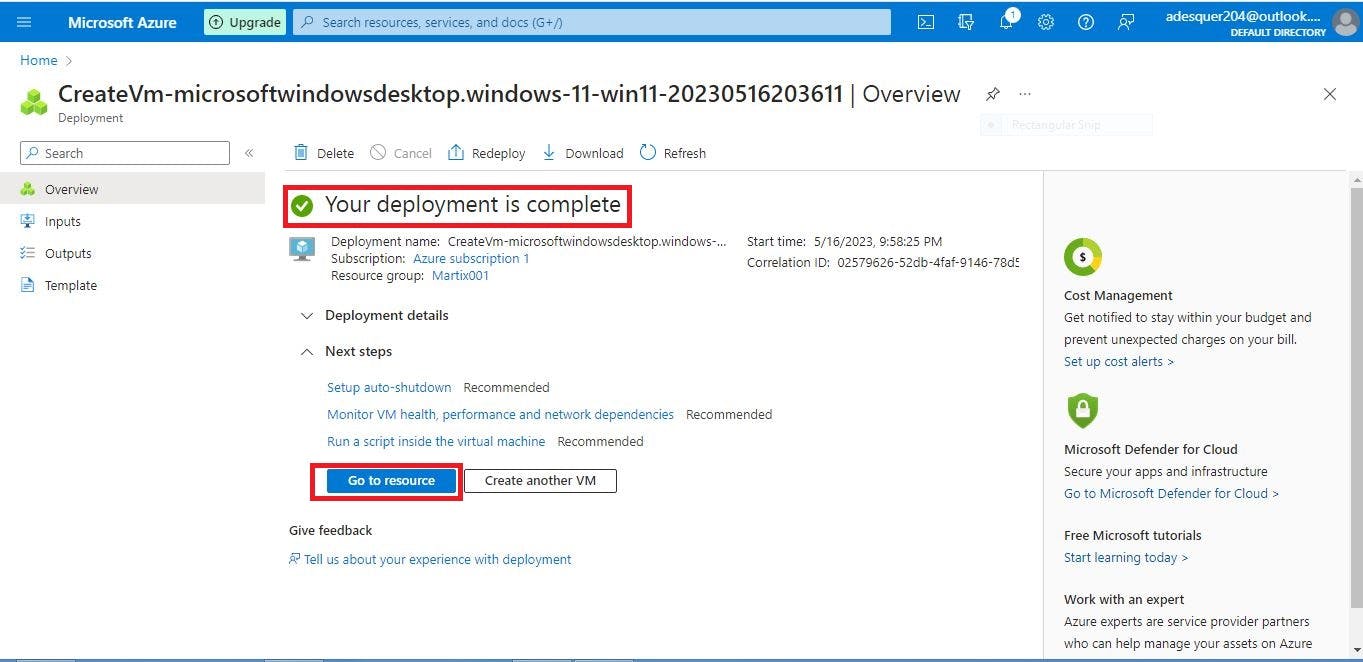
When the deployment is complete, click "Go to Resources".
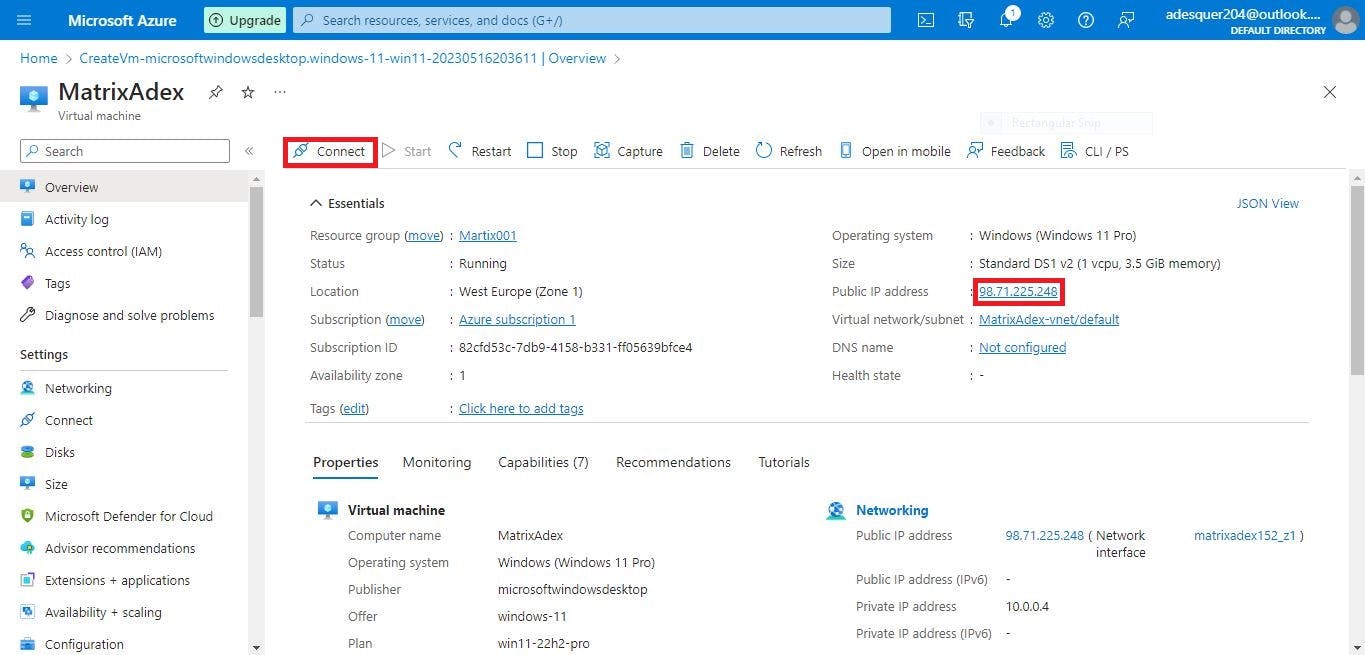
Once the virtual machine has been created, connect it to an RDP to access it by clicking “connect” on the overview page of your virtual machine.
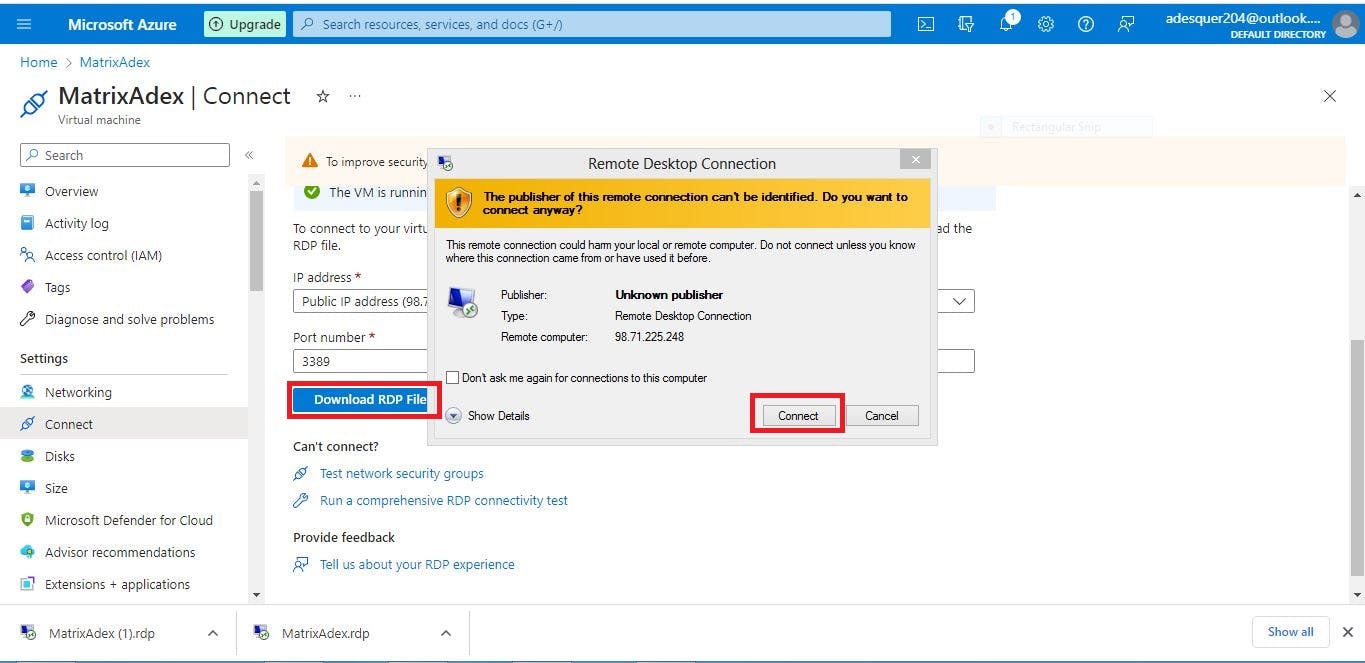
Connect with RDP, leave the default settings, and click “download RDP file”, Open the downloaded RDP file and click “Connect”.
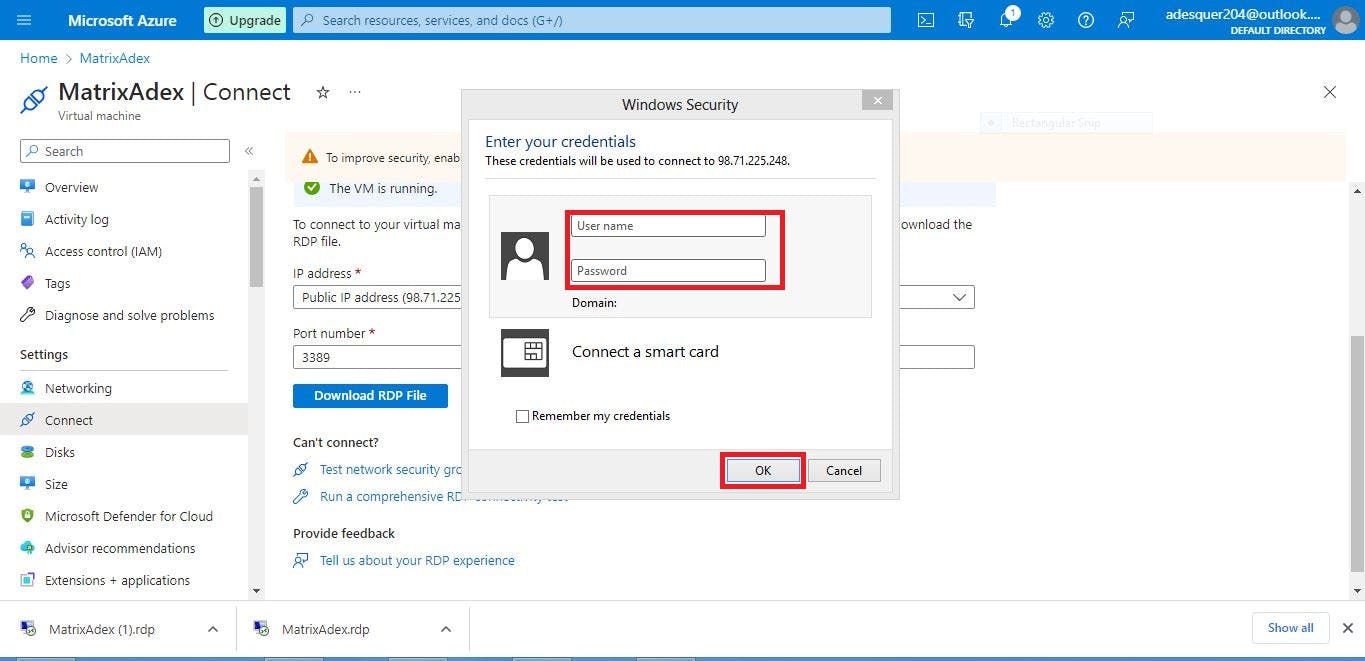
Enter your username and password, and click "ok" to finally launch the virtual machine.
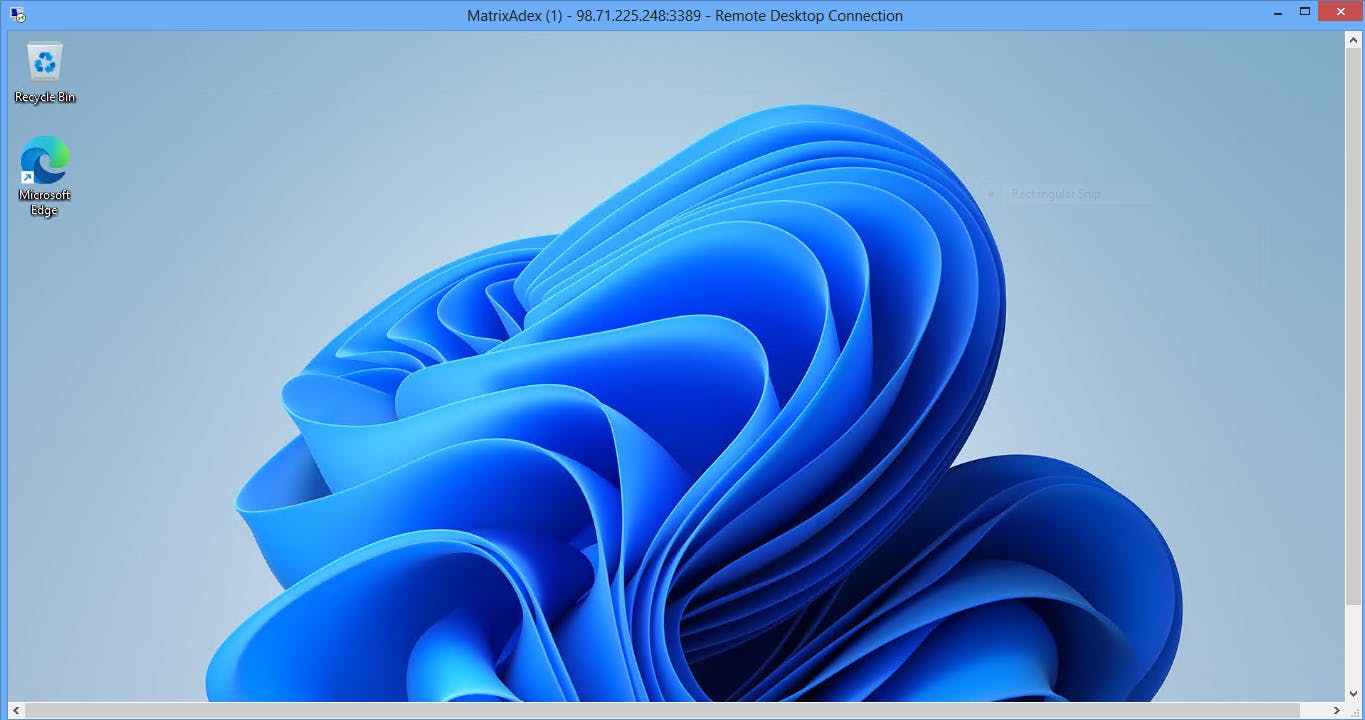
The default virtual machine home page will open and should appear as shown below.
LINK UP AND TRANSFER FILES BETWEEN LOCAL PC AND VM VIA RDP
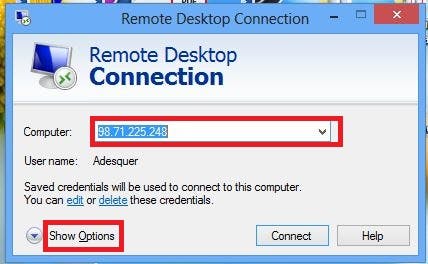
Launch the RDP on the system PC, enter the VM IP address, and click on "show options"
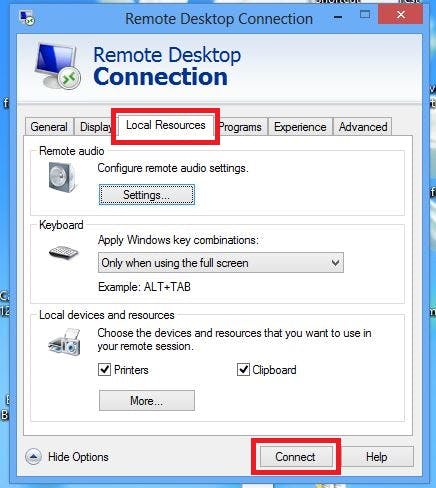
Click on Local Resources and connect.
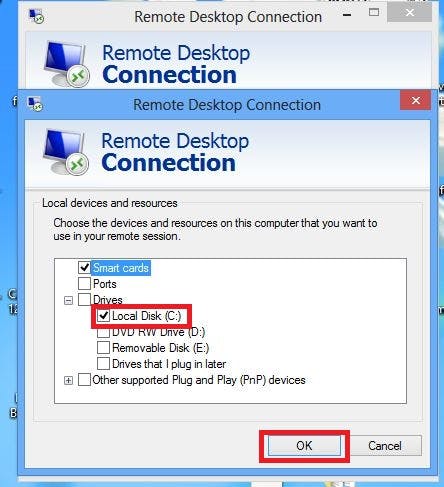
Click on more options to select “Local Disk C,” click "Ok,”
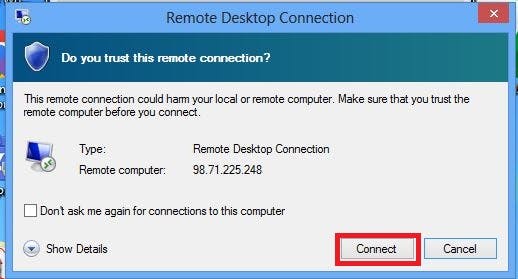
Click on “Connect” to proceed with launching the VM.
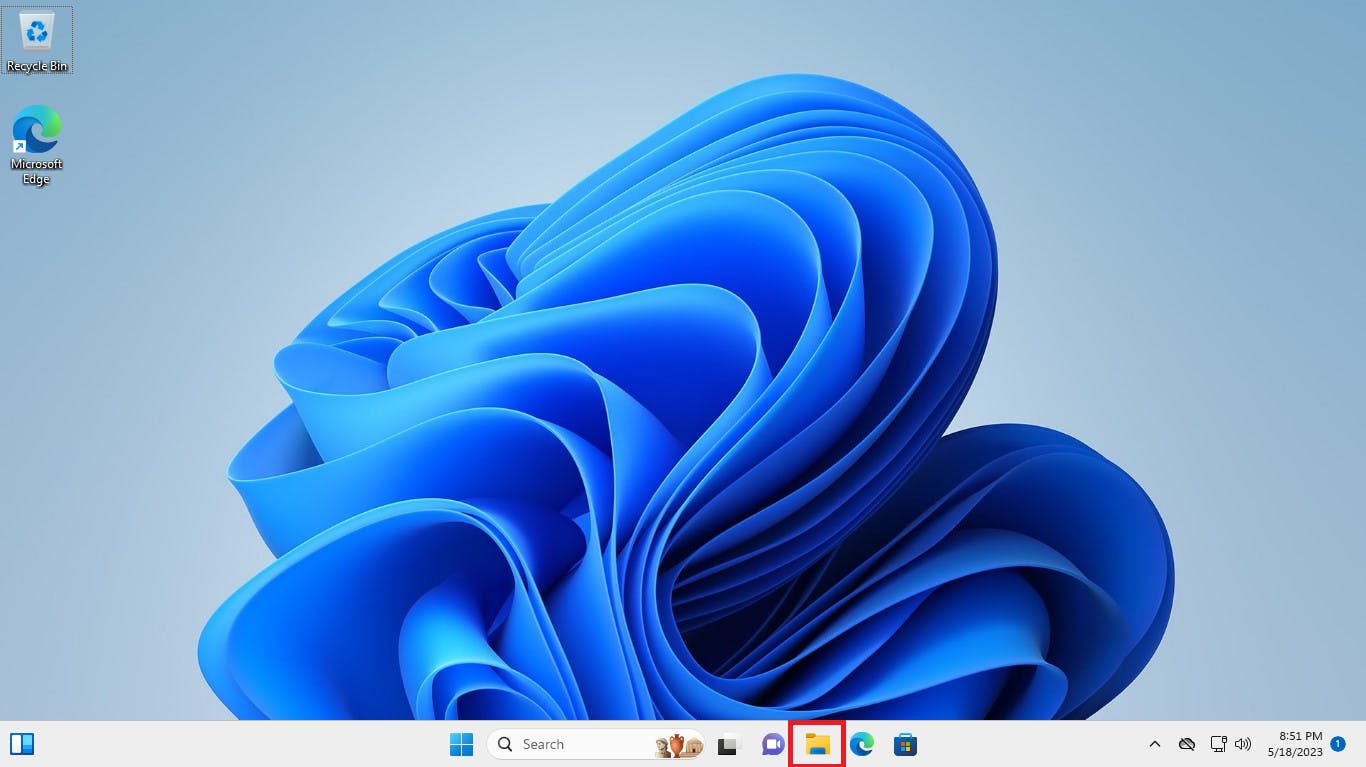
Click “File Explorer” to navigate to the VM
Click “This PC”
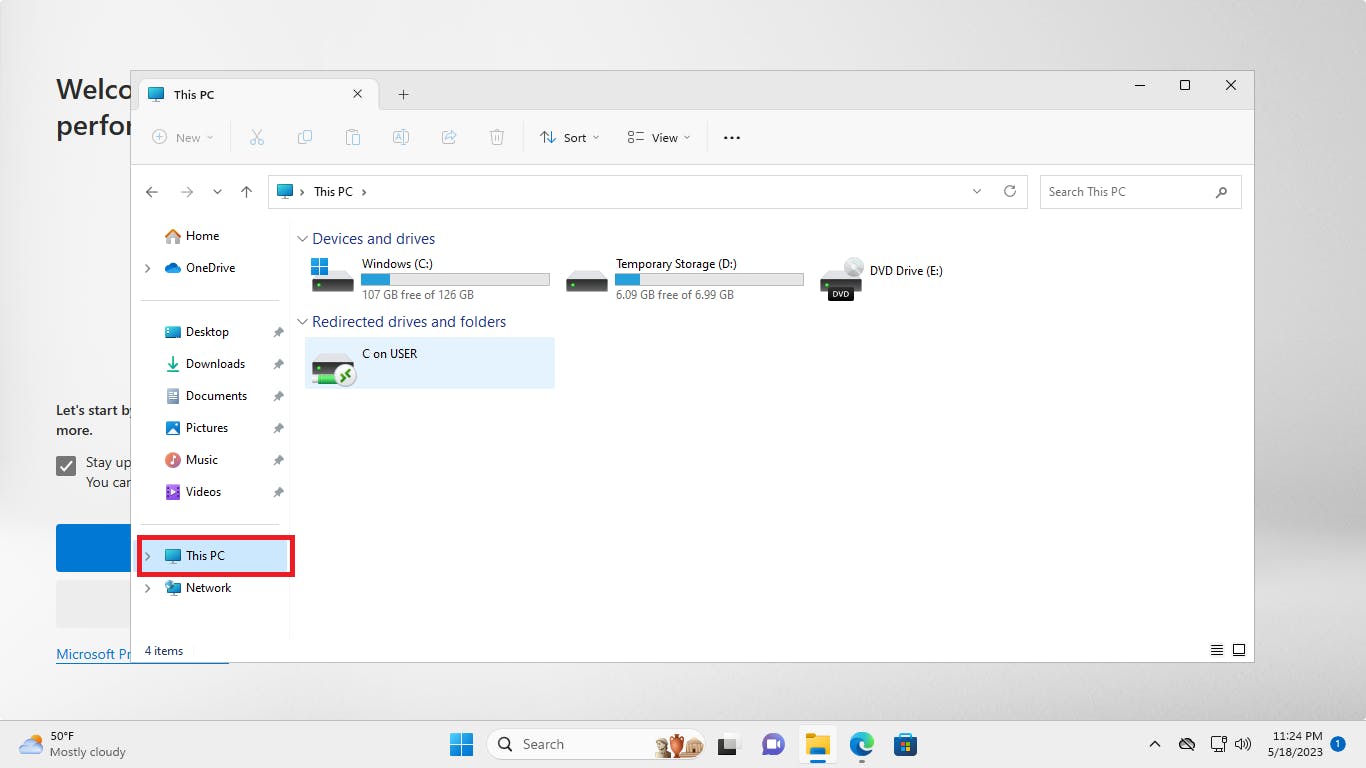
Click “users” to have access to local PC resources.

Open the document to select a file to be copied to the VM
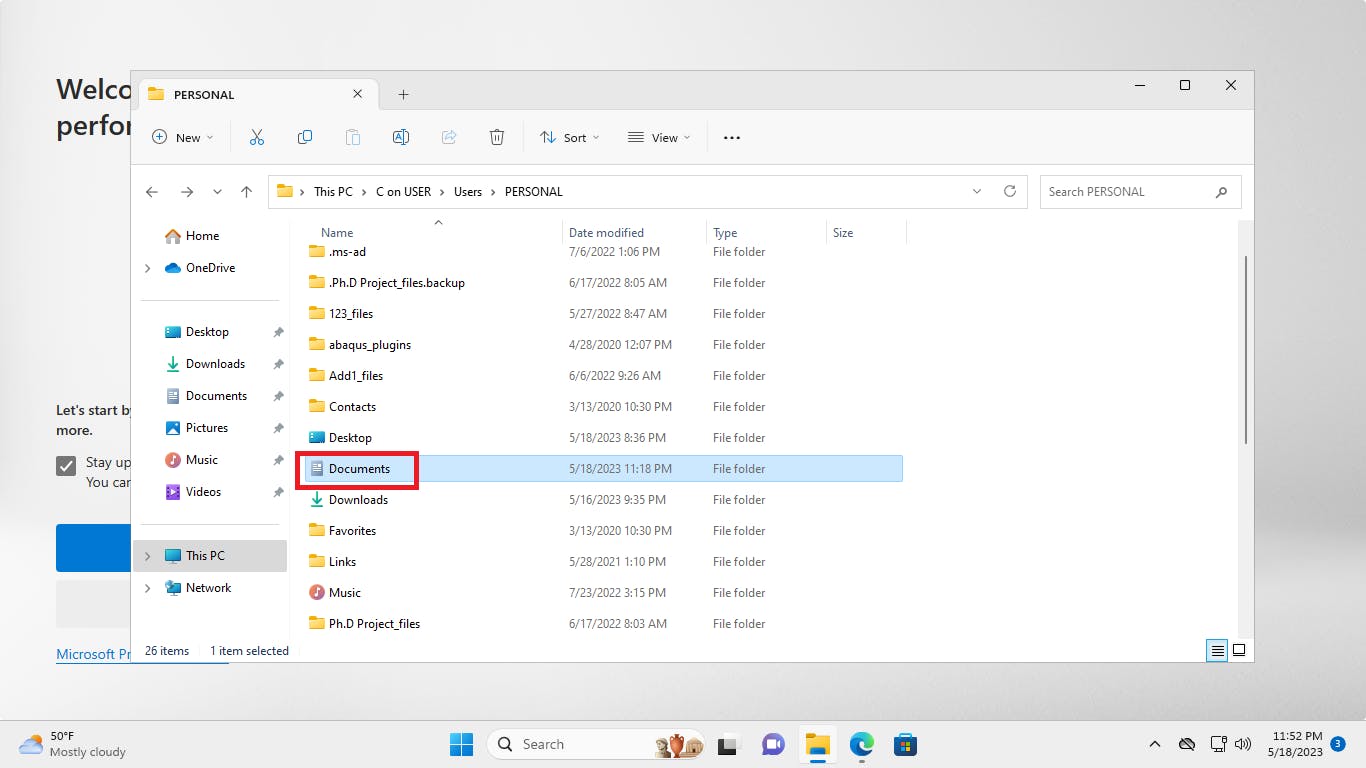
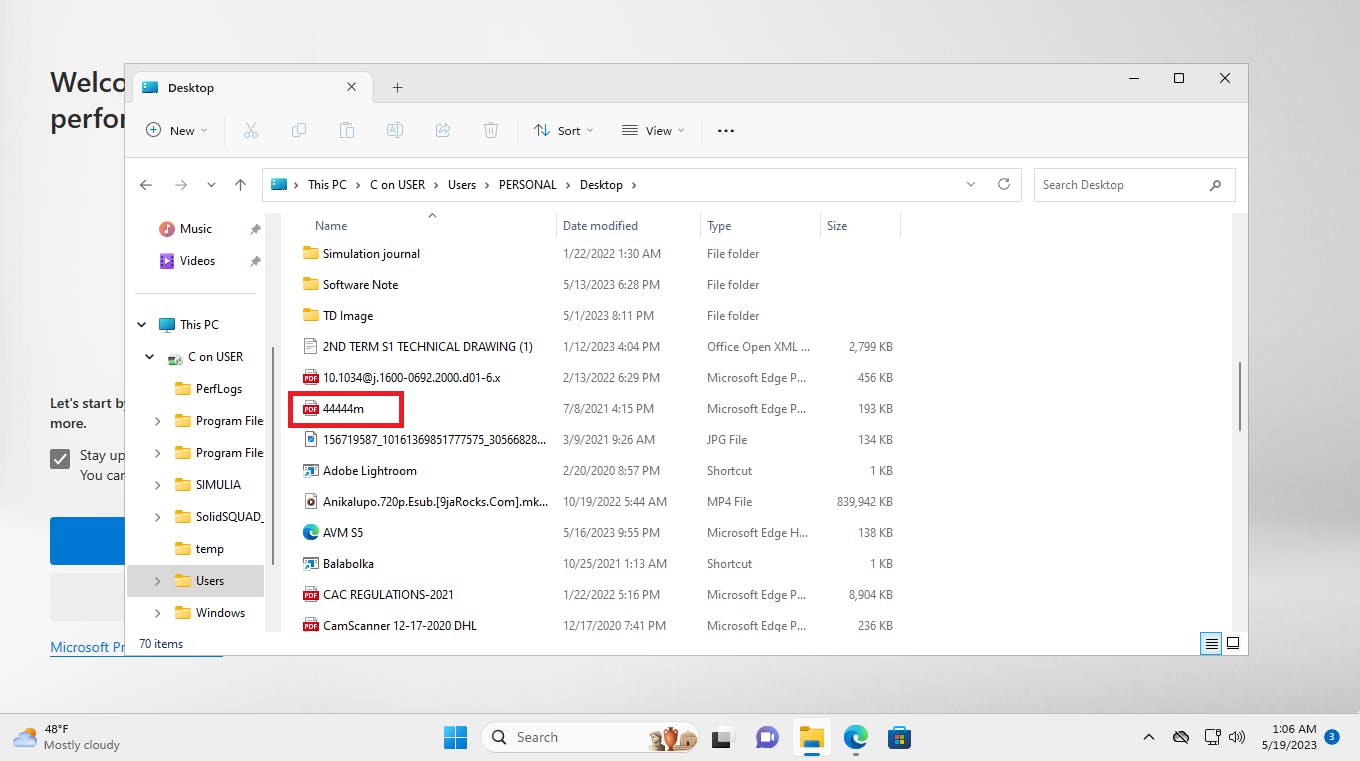
Copy the file labeled “4444m” from the document to the local PC.
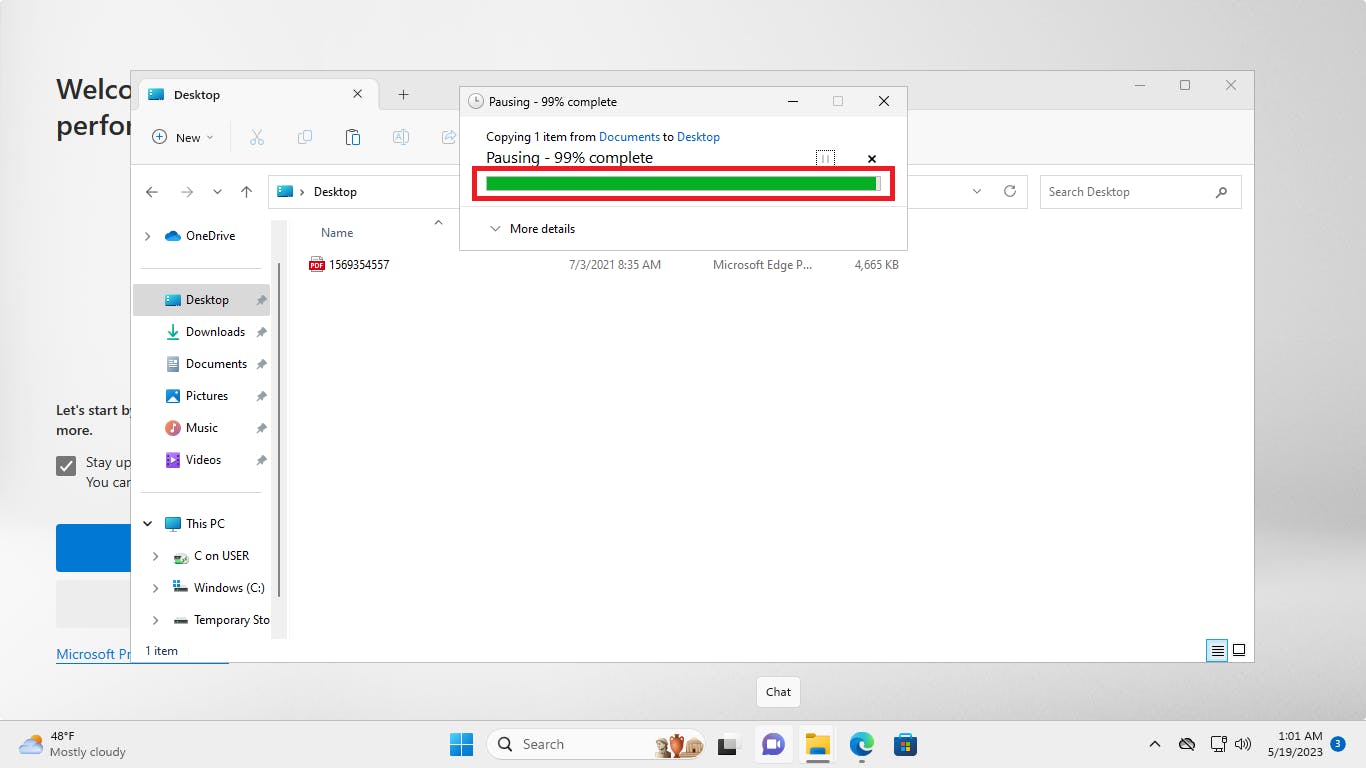
Right-click on the VM home page and select "Paste" to finally transfer the file to the VM.
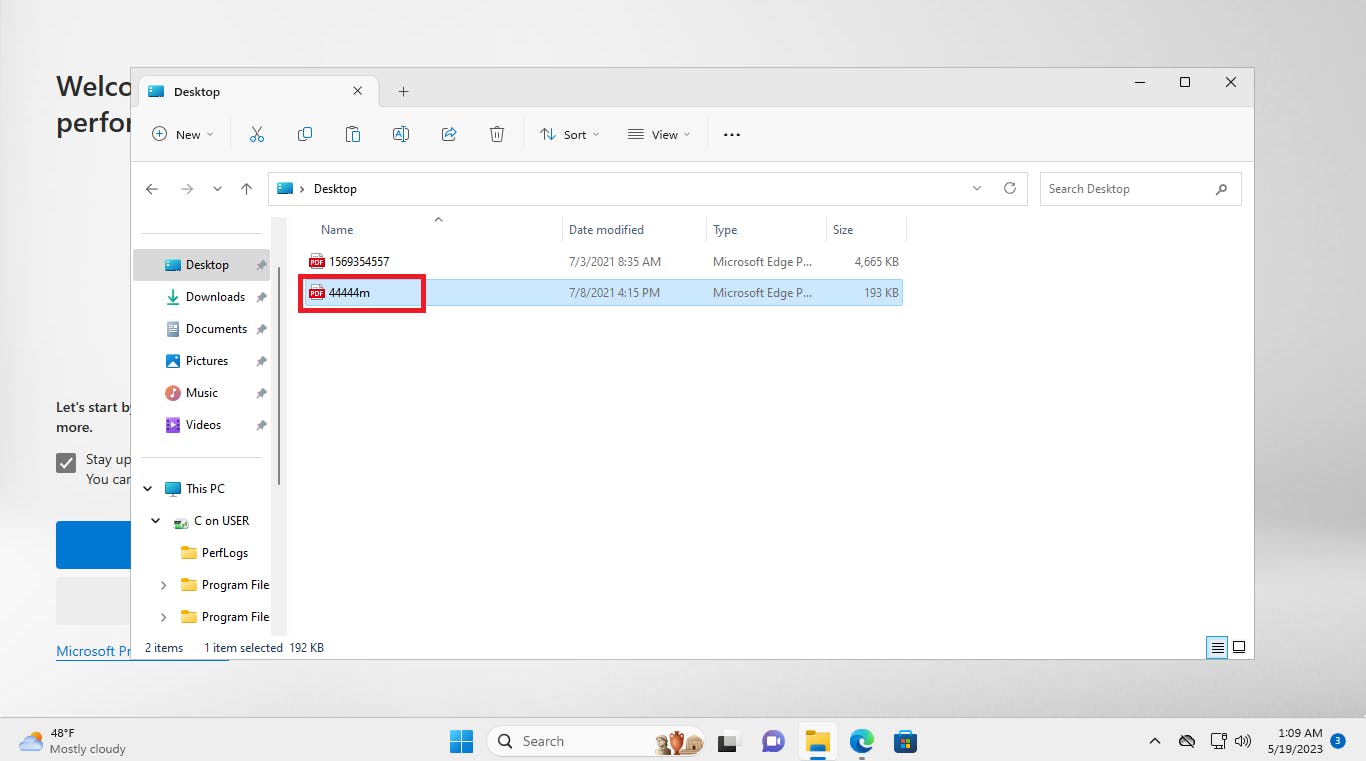
The copied file is displayed as shown on the VM desktop.
I hope this post will be helpful in assisting you in setting up your virtual machine. Thank you.